4.2.3 Build and Deploy an FBP Application
We will now define a LED control application using the FBP editor and deploy this application to the IoT board.
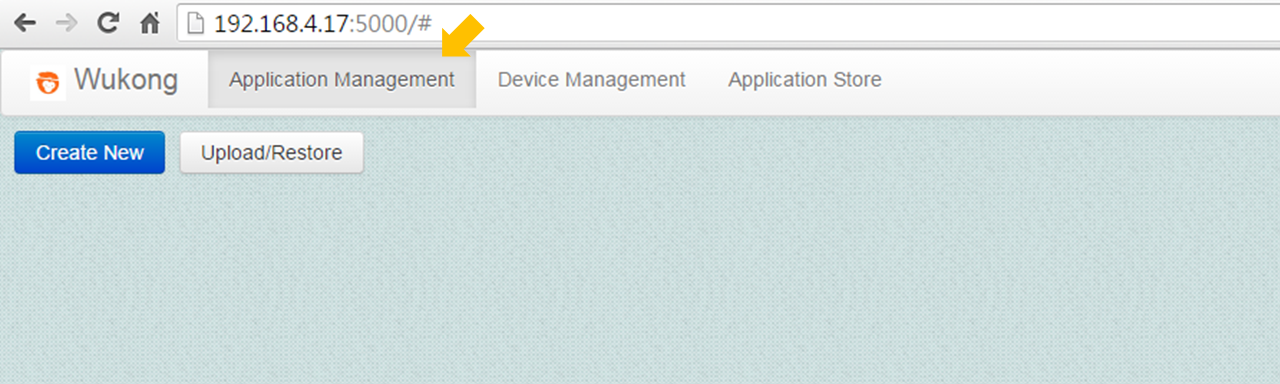
Click and enter the Application Management page.
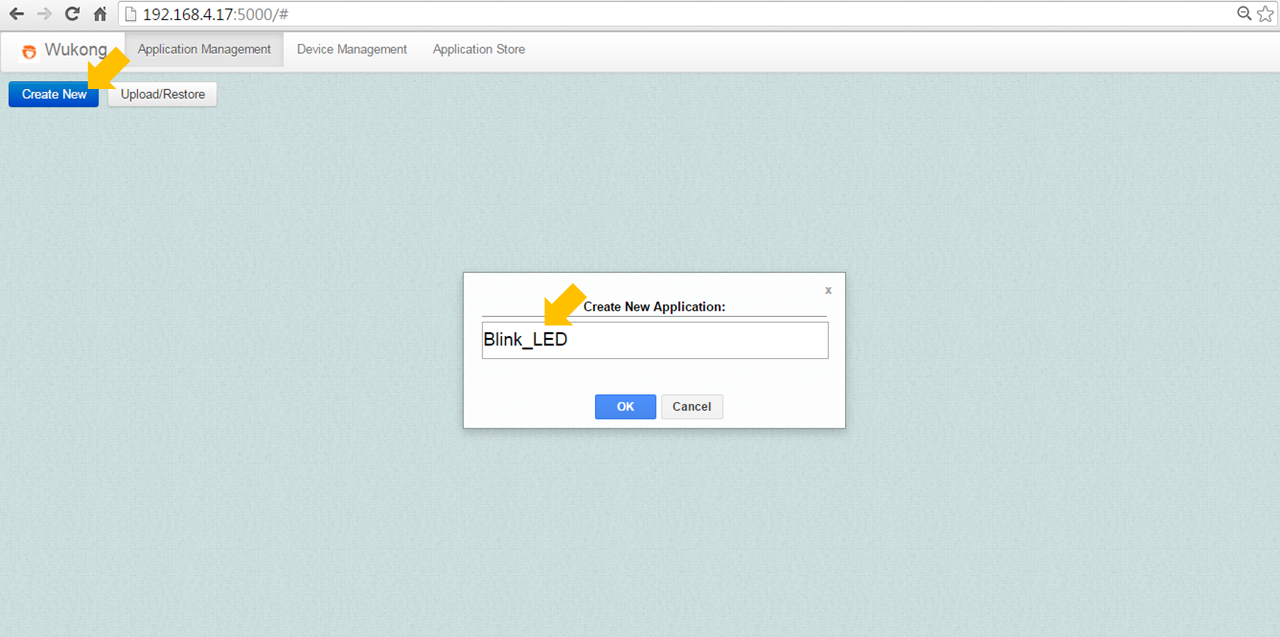
Click the Create New button and then enter the name for application.
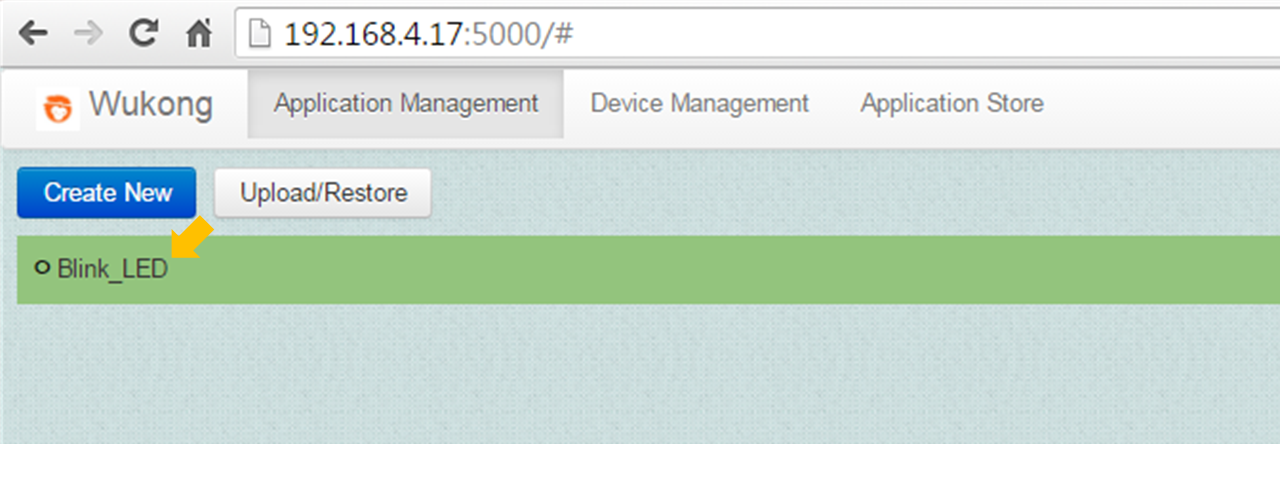
Click on the FBP name to enter the FBP composition canvas.
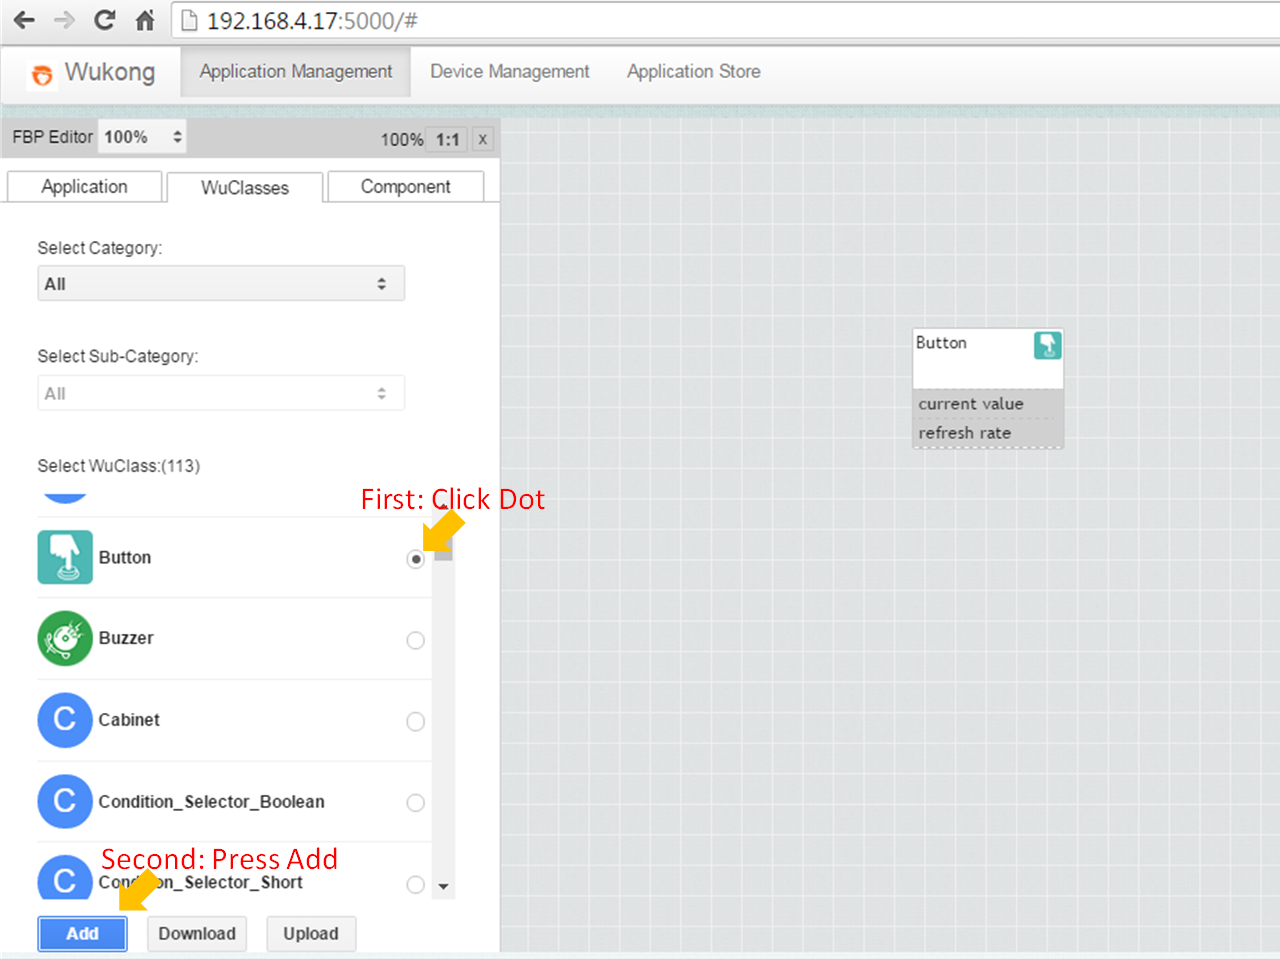
Click the WuClasses tab.

Scroll through the WuClass list to find the Button component. Select it and click the Add button. A Button component will appear on the composition canvas.
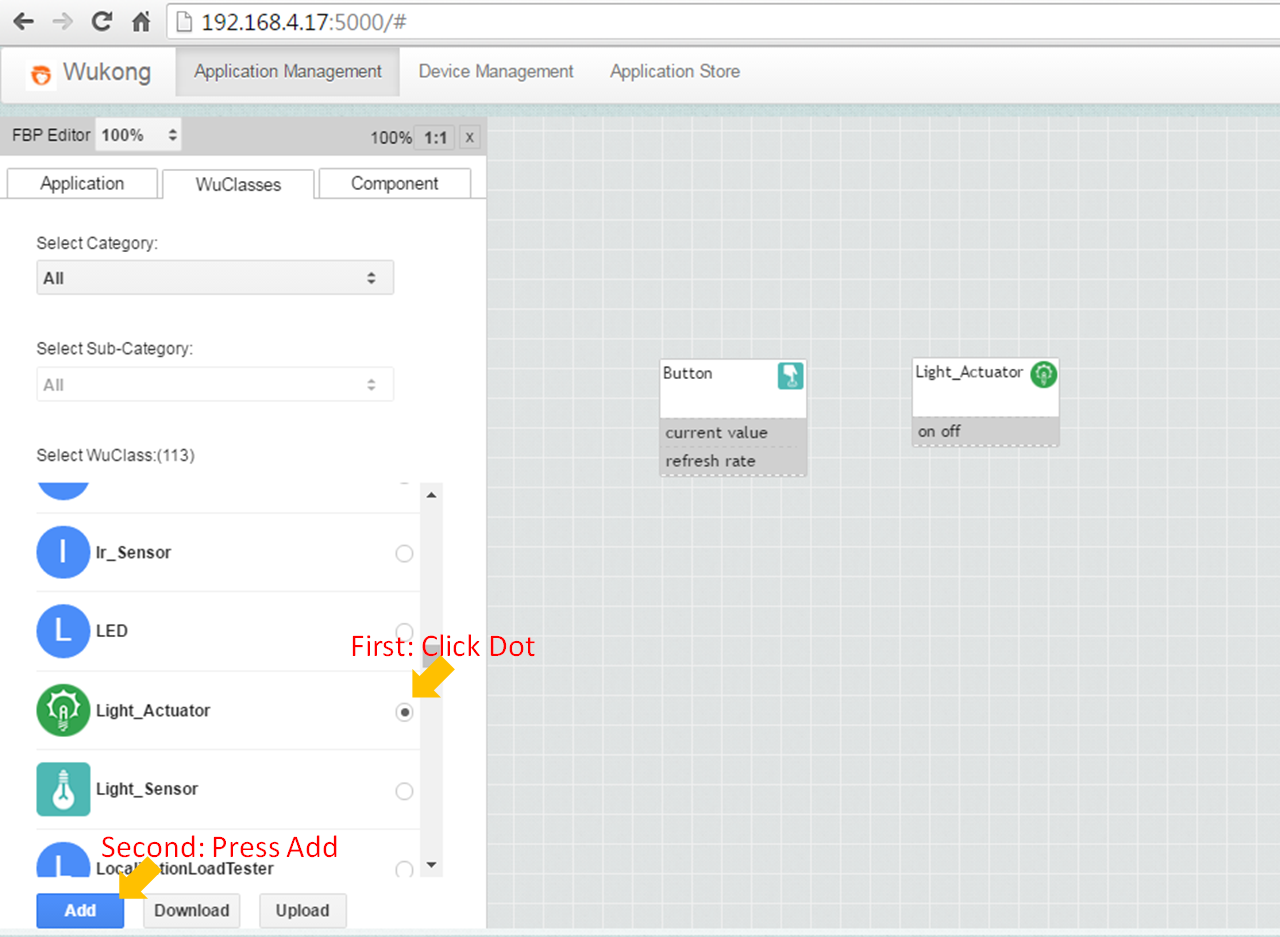
Repeat the last step to add the Light_Actuator component. Please be noted that the new added component will overlap the previous one. You have to draw them apart.
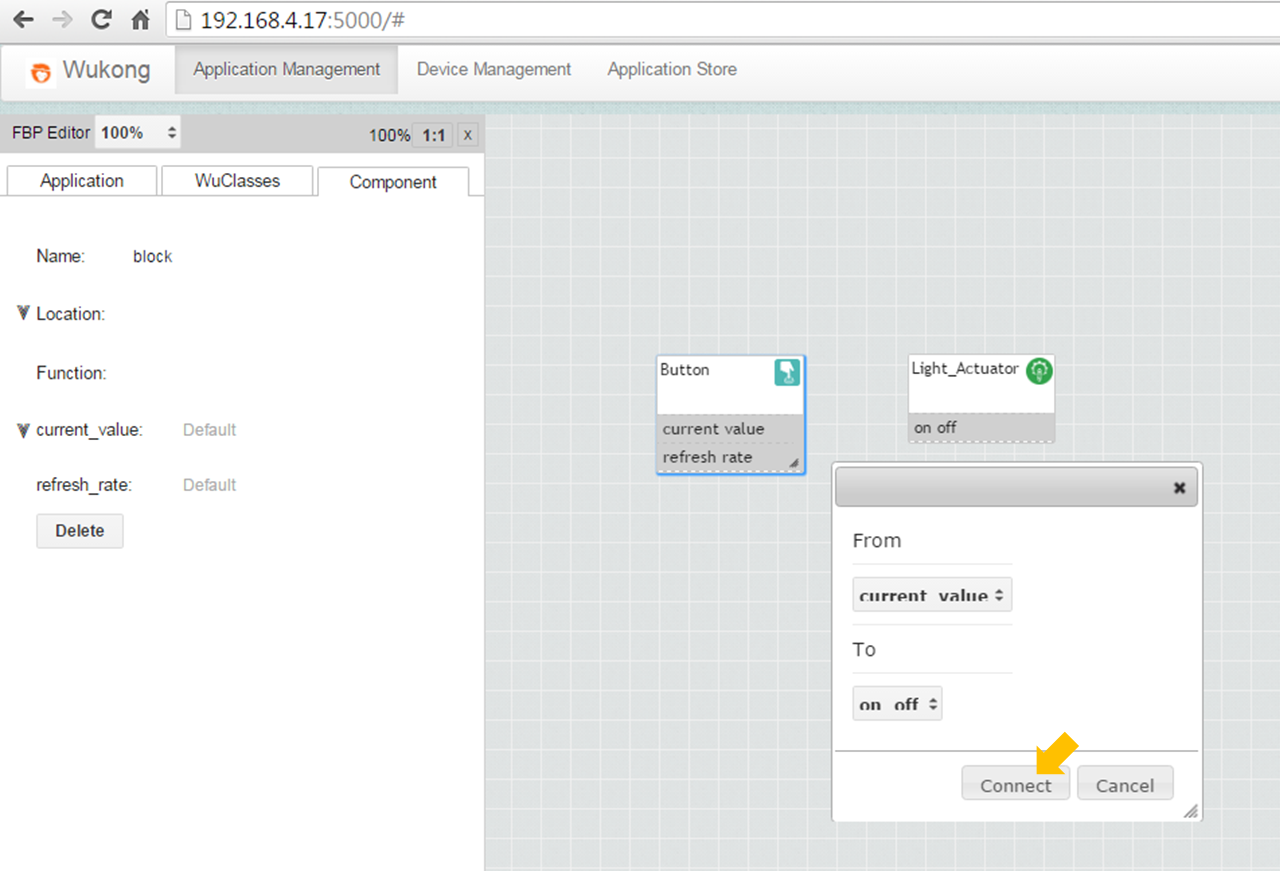
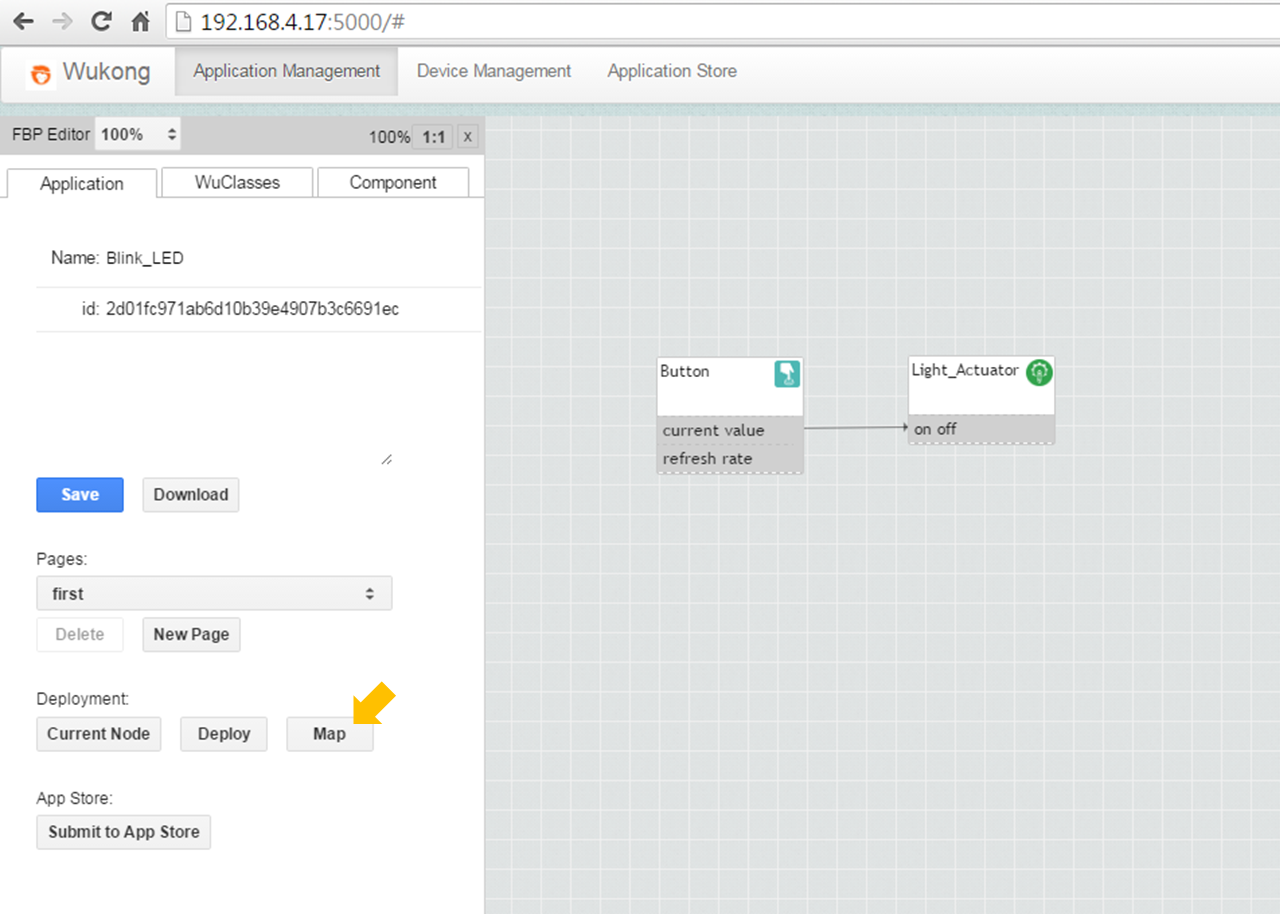
To create a link between two components, first click on the source component. After the source component has been highlighted, select the source property. Then move the cursor and click the property on the destination component.

Check whether the source and destination of the data link is correct. If not, change the property in the dropout menu.
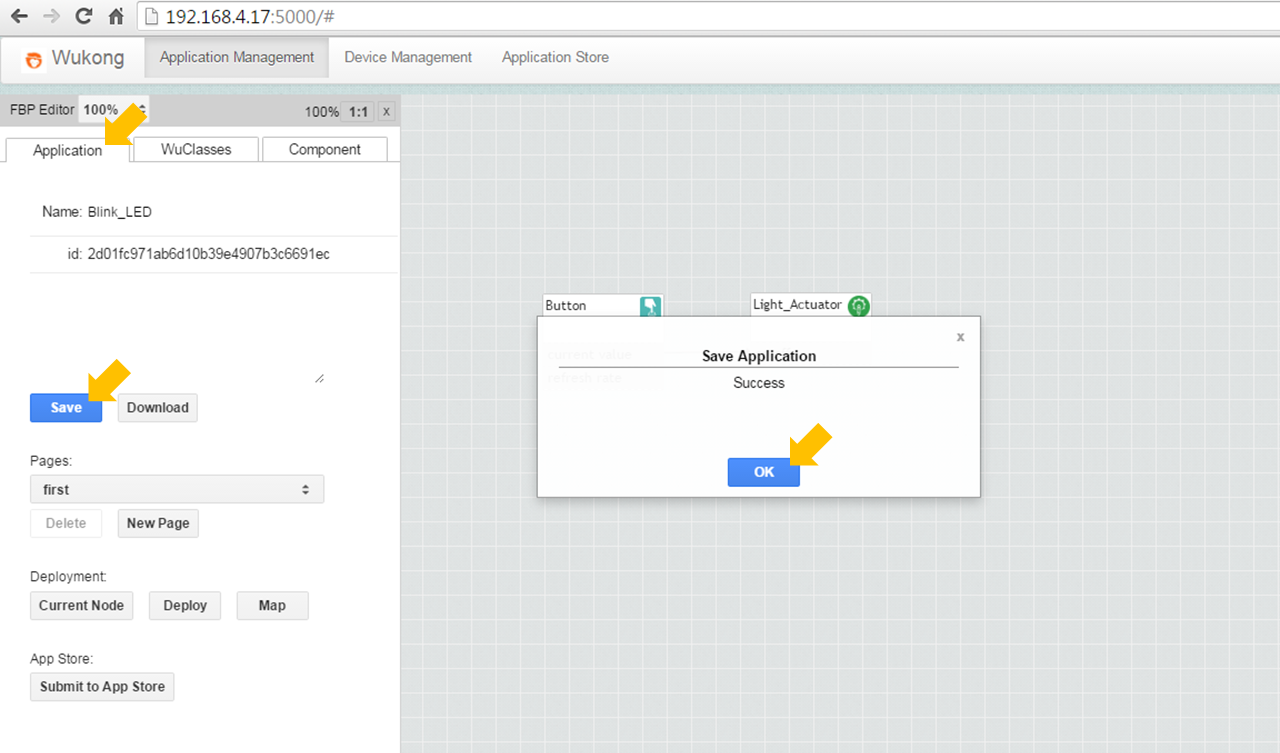
Press the Application tab and click the Save button. The FBP has now been created.
We will now start the deployment process. First click the Map button to start the Master FBP mapping selection process.
After Master has made its selection, the mapping result will be displayed as below. If the mapping is successful, each FBP component should have a device ID and a port number.
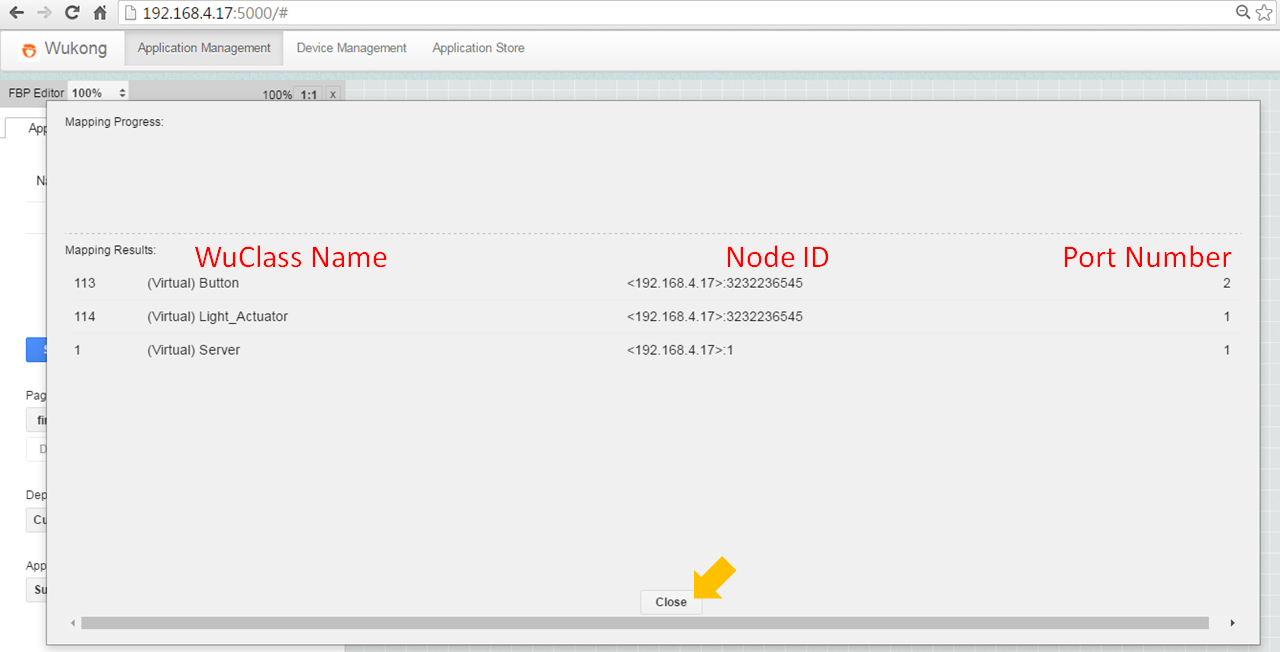
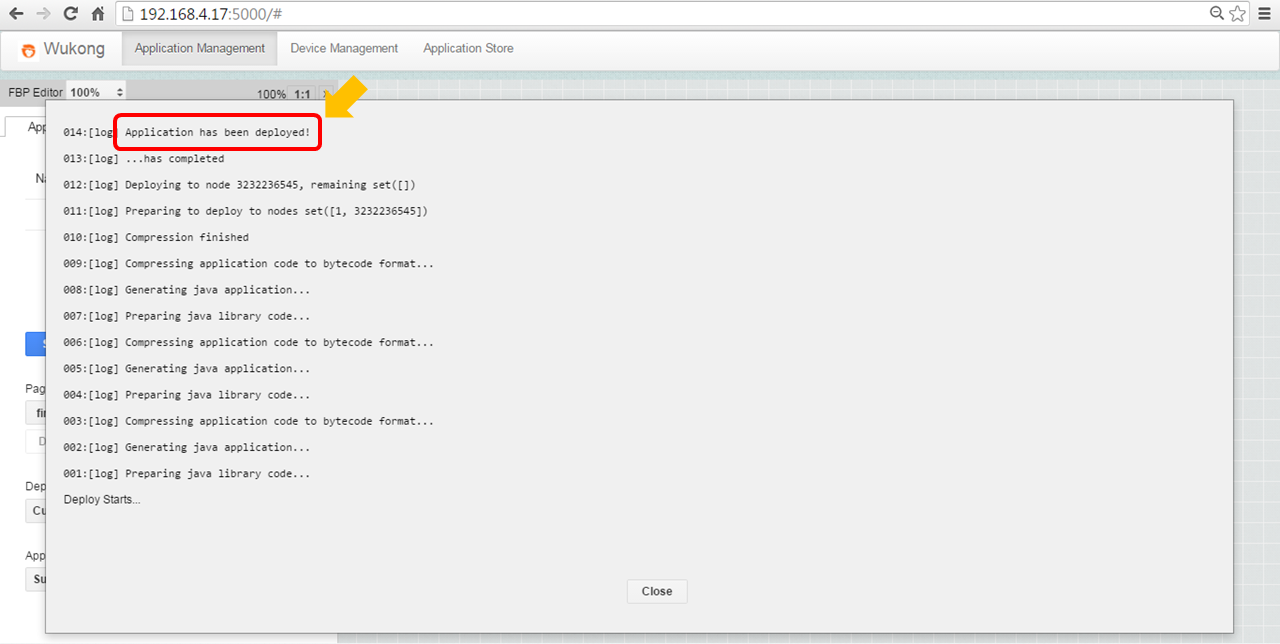
Click the Deploy button to start the FBP execution.
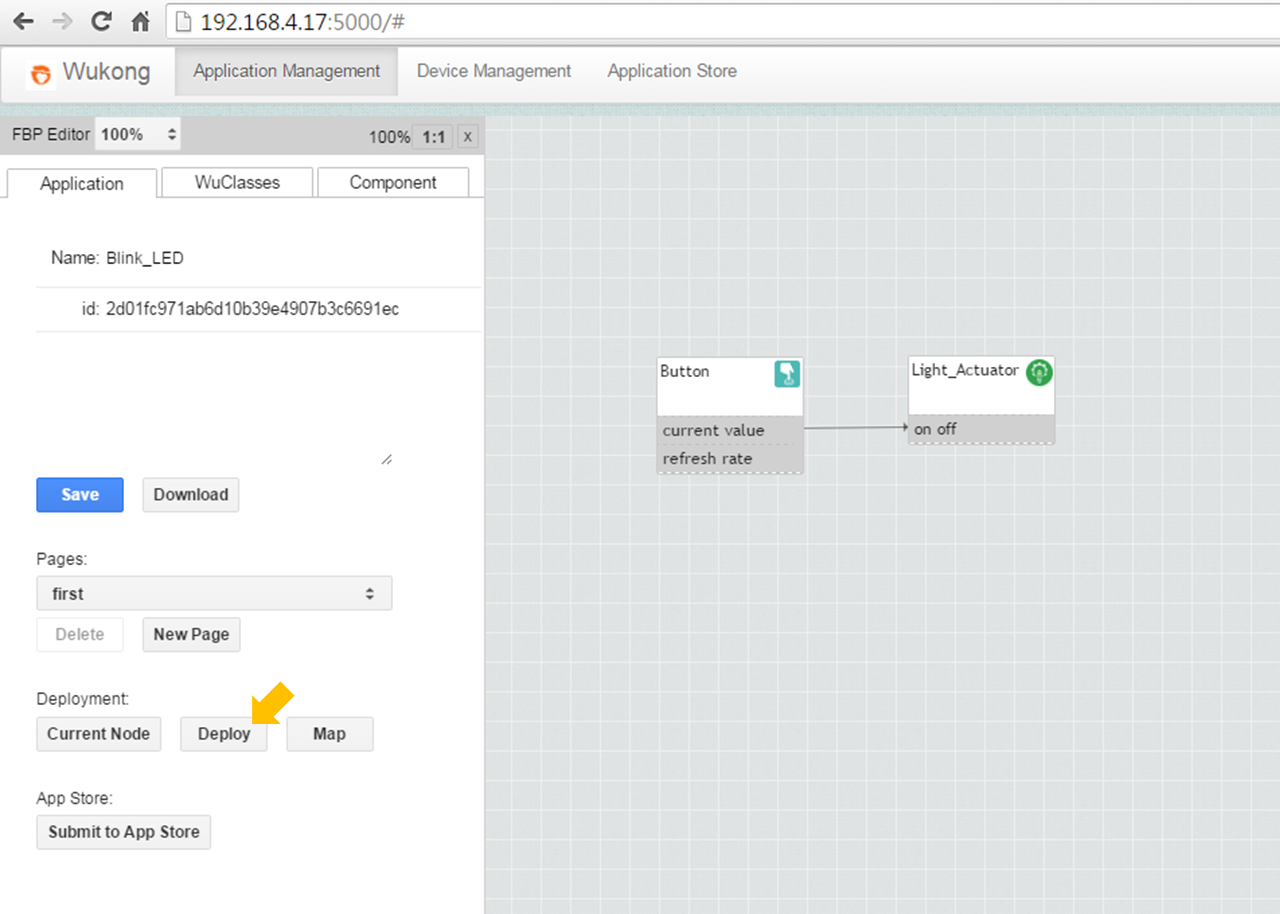
Master will display some messages and show if the deployment is successful.